Running a VIN check is one of the smartest ways to screen a used car before you visit the seller. It can help you review title records, accident history, mileage patterns, theft records, recalls, specifications, sale records, and other red flags connected to the vehicle’s past. However, a report is only the first step.
A VIN check tells you what has been recorded. A used car inspection tells you what the vehicle looks, feels, sounds, and drives like today. To make a safer decision, you need both.
Use this checklist after you run a free VIN check and before you agree to buy. It will help you compare the vehicle history report with the car in front of you, ask better questions, and decide whether the deal is worth pursuing.
Quick Answer: What Should You Inspect After Running a VIN Check?
After running a VIN check, inspect the car’s VIN plates, title documents, body panels, paint, tires, lights, interior, engine bay, fluids, undercarriage, electronics, test-drive behavior, mileage, service records, and recall status. The goal is to confirm that the car matches the report and that there are no visible signs of hidden damage, title problems, odometer fraud, flood exposure, or poor repairs.
A clean report is encouraging, but it does not guarantee that the car is problem-free. Some accidents, repairs, maintenance work, flood exposure, or mechanical issues may not appear in every report. That is why the physical inspection matters.
Why You Should Inspect the Car Even After a VIN Check
A VIN check can help you avoid obvious risks before spending time on a test drive. Still, it cannot replace your eyes, ears, and a mechanic’s inspection.
Some issues are current-condition problems, not historical records. For example, a car may have a clean title but worn brakes. It may show no accident record but have mismatched paint. It may have no flood brand but still show moisture, corrosion, or electrical problems. It may also have accurate mileage but poor maintenance.
In short, the report gives you context. The inspection confirms reality.
Step 1: Confirm the VIN Matches Everywhere
Start with the VIN itself. A mismatch is one of the biggest warning signs in any used car transaction.
Check the VIN in these places:
- Dashboard near the windshield
- Driver-side door jamb label
- Vehicle title
- Registration documents
- Insurance documents, if available
- Seller’s listing or bill of sale
- Service records, if provided
The VIN should match exactly across every document and physical location. Watch for altered labels, scratched plates, missing stickers, uneven rivets, or signs that a VIN plate has been tampered with.
If the VIN on the vehicle does not match the title or report, pause the deal immediately. It may be a paperwork mistake, but it could also indicate title fraud, VIN cloning, theft, or an incorrectly represented vehicle.
Step 2: Compare the Vehicle Details With the Report
Next, confirm that the car in front of you matches the report details. Review the year, make, model, trim, body style, engine, transmission, drivetrain, and fuel type.
This matters because sellers sometimes list the wrong trim or features. A vehicle advertised as a higher trim may actually be a lower trim with aftermarket upgrades. That can affect price, insurance, resale value, and parts compatibility.
Check for consistency between:
- Reported year, make, model, and trim
- Exterior and interior features
- Engine type
- Transmission type
- Drivetrain
- Odometer reading
- Seller’s description
- Photos in the listing
If something does not match, ask the seller to explain it before moving forward.
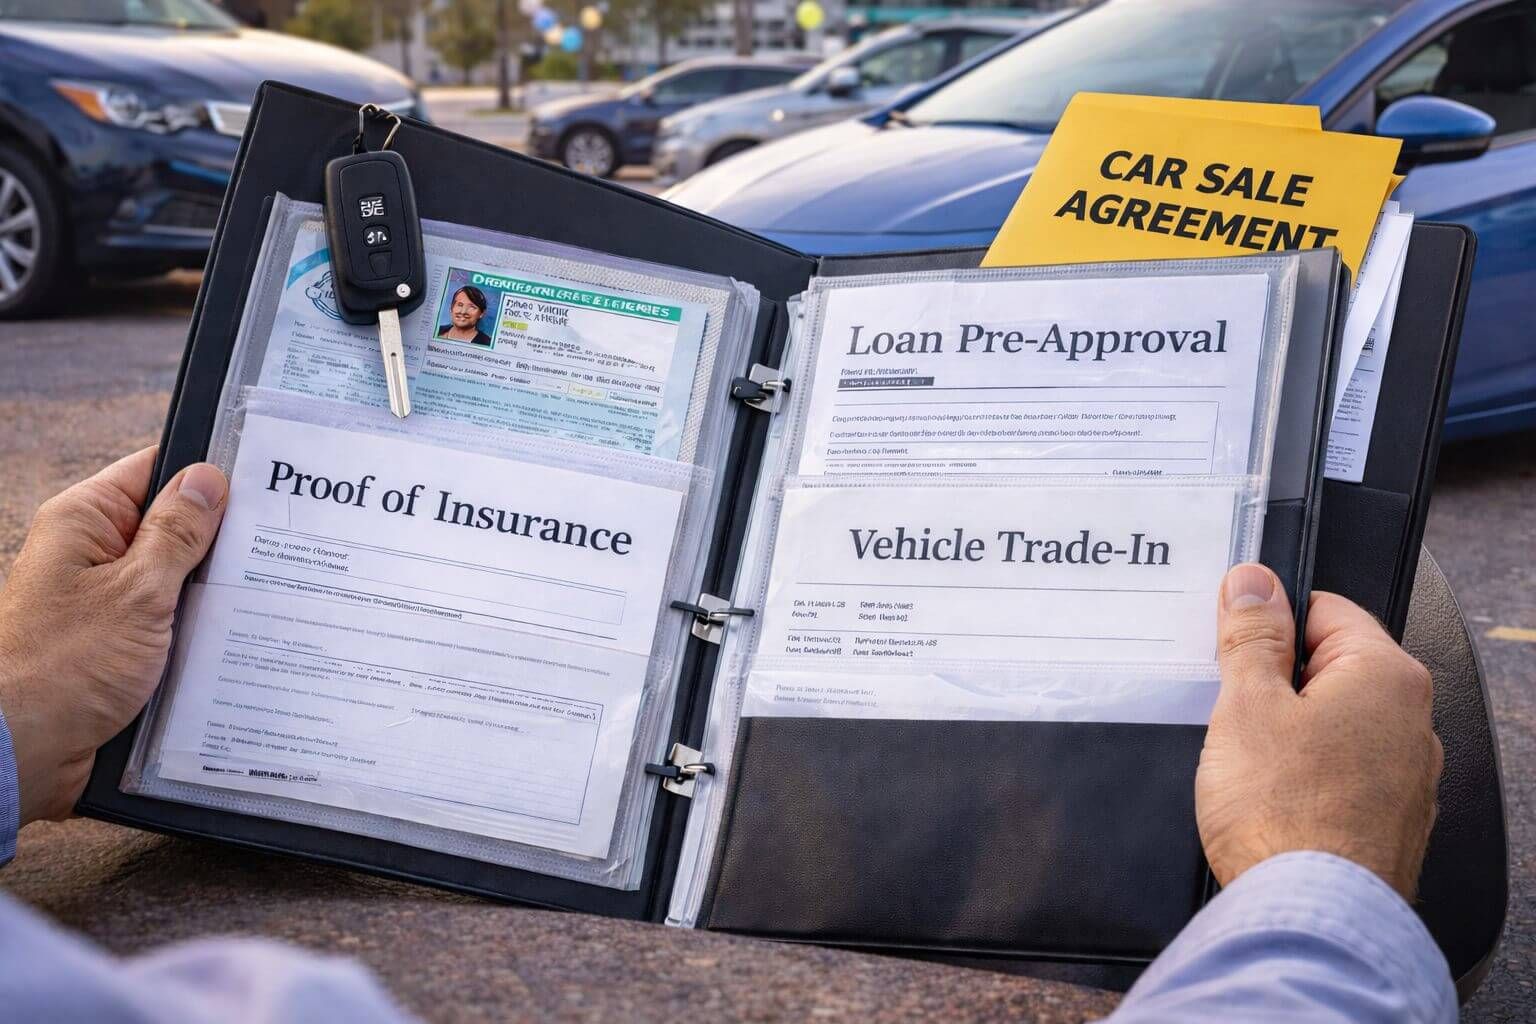
Step 3: Review the Title and Ownership Documents
A VIN report may show title records, but you still need to review the actual documents. Before paying, confirm that the seller has the legal right to sell the vehicle.
Check the title for:
- Seller’s name
- VIN accuracy
- Odometer disclosure
- Title brands
- Lienholder information
- Signatures
- Erasures or alterations
- State of issue
If the title is missing, unsigned, altered, or not in the seller’s name, be careful. Also check whether any title brand appears on the document. A car with a salvage, rebuilt, flood, junk, lemon, or theft brand may still be legal to buy, but it requires extra caution.
If the title record raises concerns, use a dedicated title check by VIN and compare the results with the seller’s documents.
Step 4: Check for Liens Before Paying
A lien means another party may have a financial claim on the vehicle. If you buy a car with an unpaid lien, you may have trouble registering it, transferring ownership, or proving clear title.
Ask the seller whether the vehicle is fully paid off. If a lender is still listed on the title, confirm the payoff process before any money changes hands.
Be cautious if:
- The seller says the title will be sent later
- The lender still holds the title
- The seller cannot provide a lien release
- The seller wants full payment before clearing the loan
- The title shows a lienholder but no release document
When in doubt, complete the transaction through the lender, DMV, or another secure process that confirms the lien is released.
Step 5: Inspect the Exterior for Accident or Repair Signs
A vehicle can have damage that does not appear in a report. Walk around the car slowly in good daylight and look for signs of past repairs.
Check for:
- Uneven panel gaps
- Mismatched paint
- Overspray near trim, glass, or wheel wells
- Newer panels on one side of the car
- Misaligned doors, hood, trunk, or bumper
- Cracked lights or replaced lenses
- Rust near repaired areas
- Wavy reflections in the paint
- Missing factory stickers on body panels
- Loose bumper covers or splash shields
Small cosmetic repairs are common, but poor repairs may indicate deeper damage. If the report shows an accident, compare the damaged area with the repair quality. If the report shows no accident but the car shows repair signs, ask what happened.
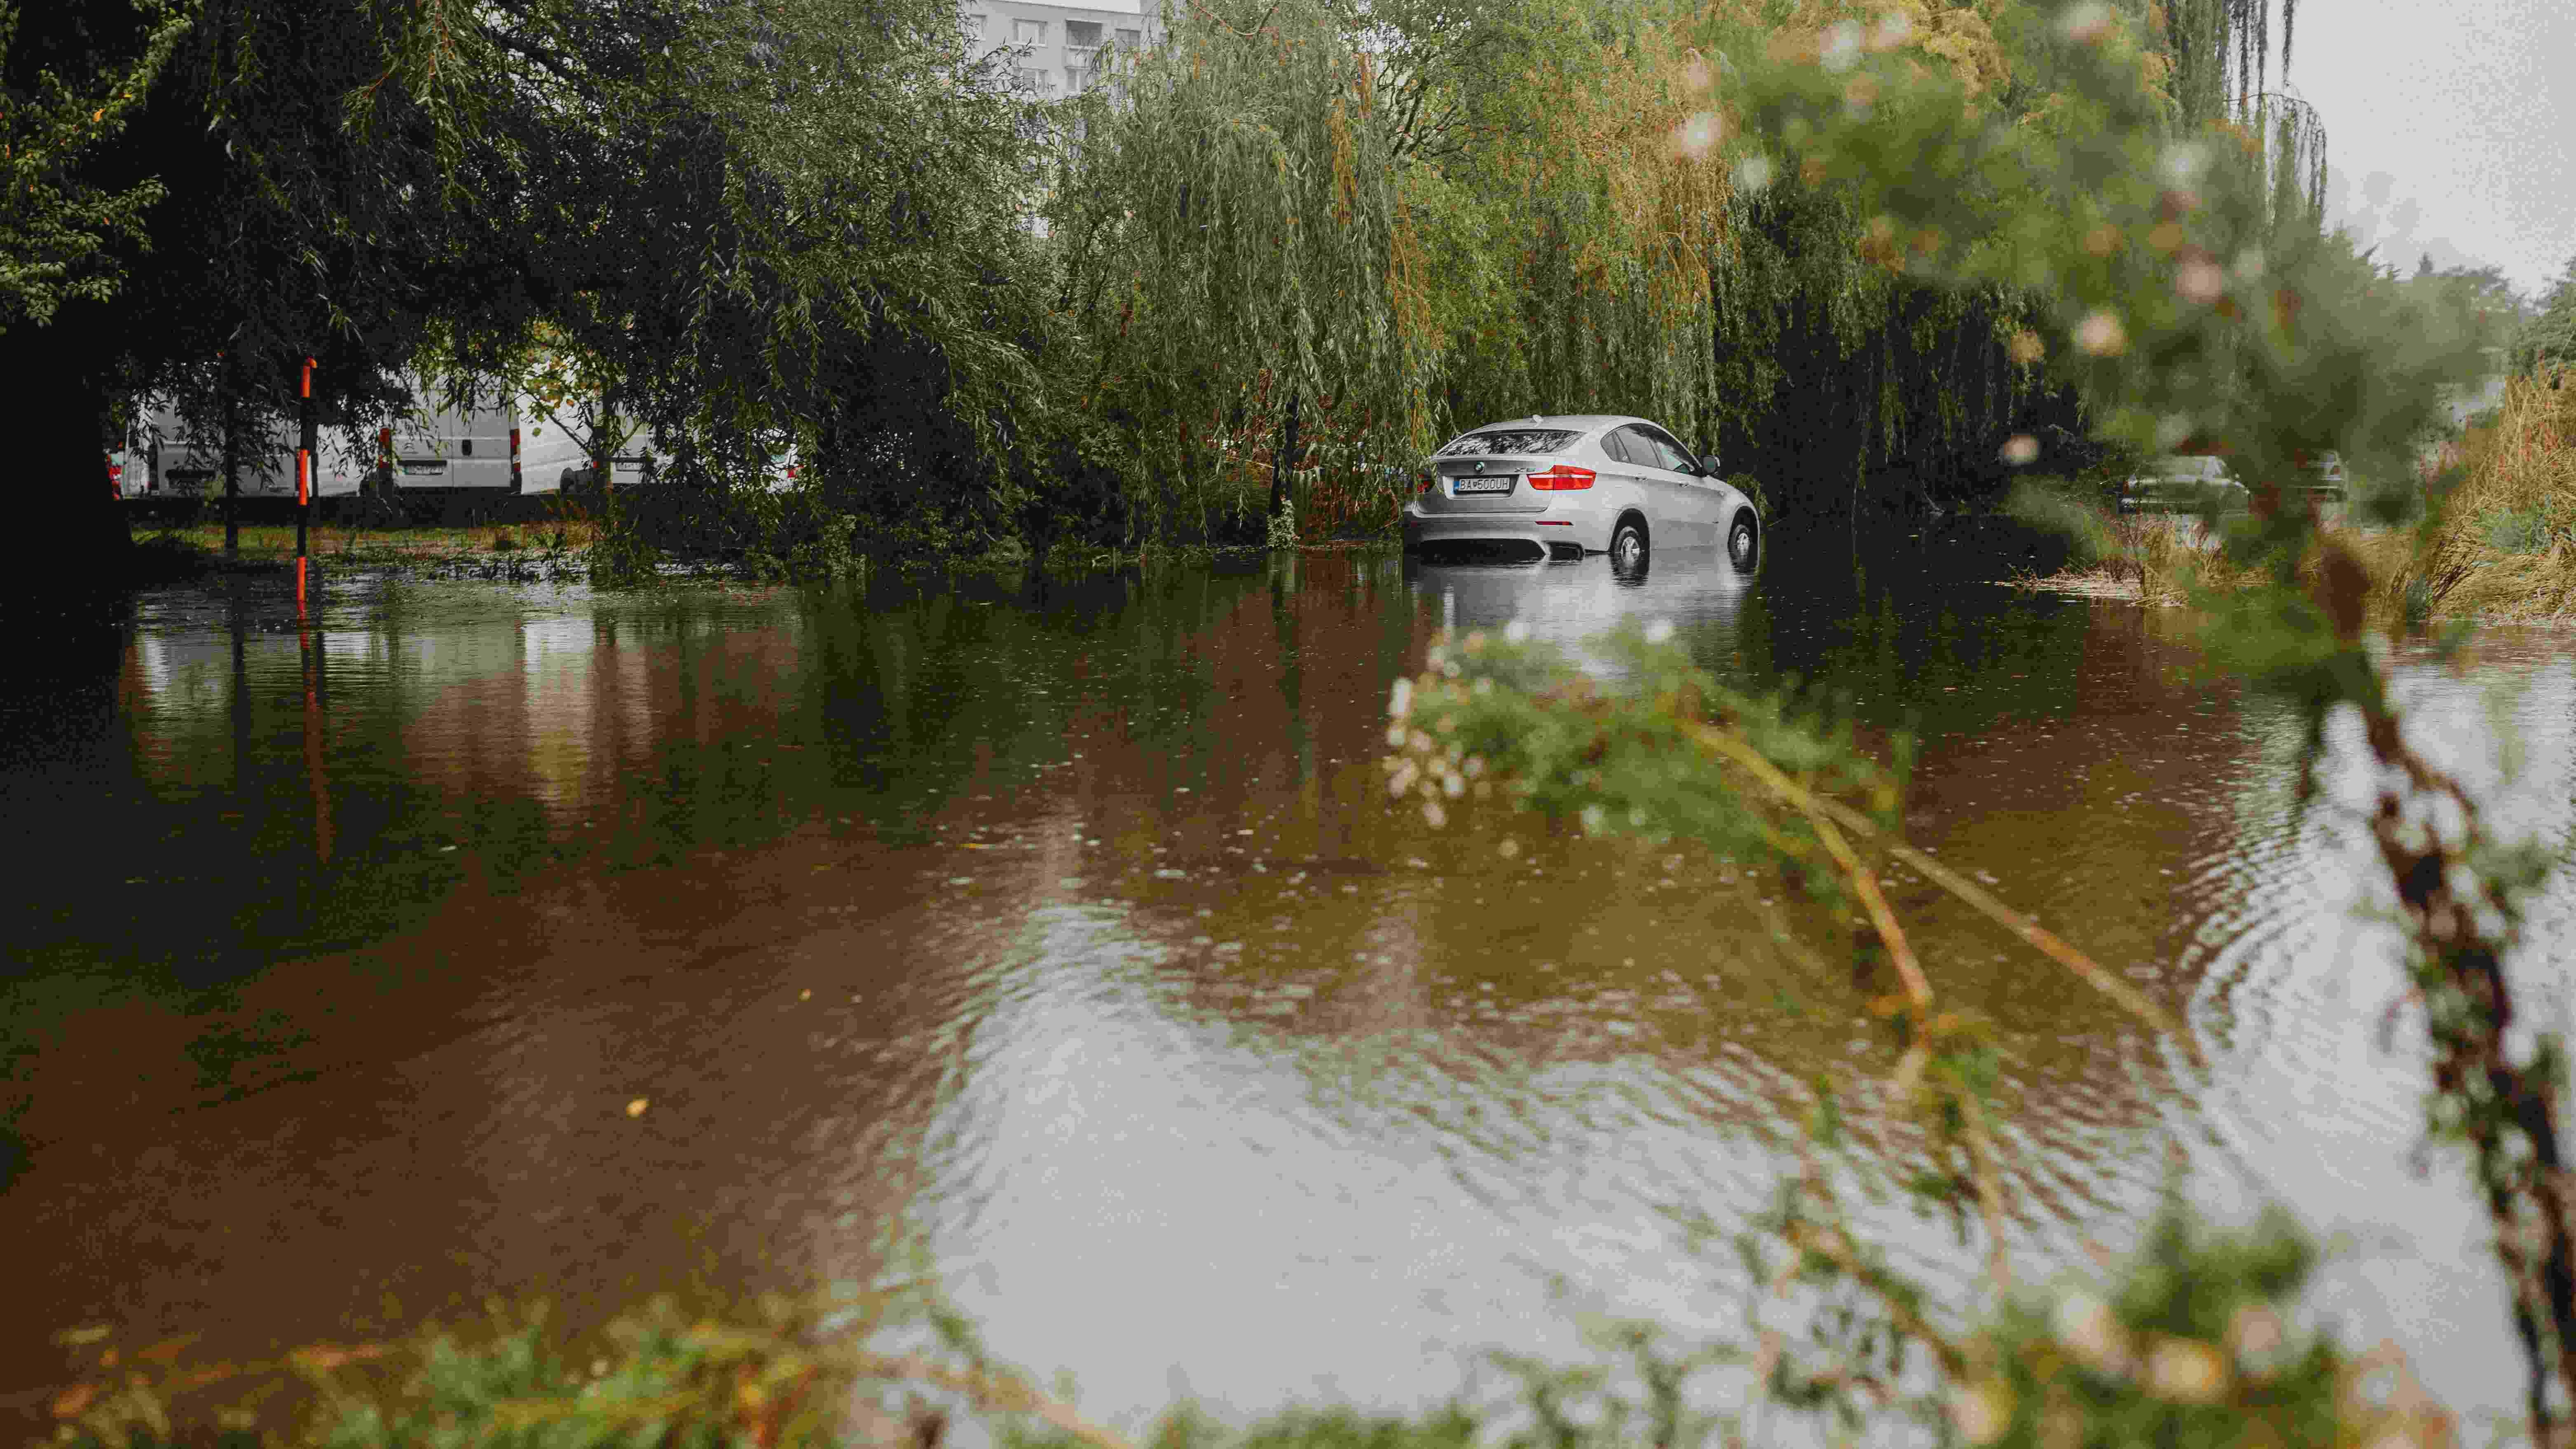
Step 6: Look for Flood Damage Clues
Flood damage can be expensive and difficult to repair. Even if the car starts and drives, water exposure can cause corrosion, mold, sensor problems, electrical failures, and long-term reliability issues.
Look for:
- Musty odor inside the cabin
- Damp carpet or padding
- Water stains under seats or in the trunk
- Mud or silt in seat tracks, spare tire wells, or door pockets
- Rust on seat bolts, pedals, brackets, or wiring connectors
- Fogging inside lights or instrument panels
- Malfunctioning electronics
- New carpet in an older car
- Strong air freshener masking odors
If you see these signs, slow down. A flood-damaged vehicle can look clean after detailing, but hidden moisture and corrosion may remain. Compare your findings with the report and review the existing flood damage guide before making a decision.
Step 7: Check the Odometer and Mileage Pattern
The odometer reading should make sense compared with the report, the vehicle’s age, and the car’s condition.
Compare the current mileage with:
- Mileage records in the VIN report
- Service records
- Oil change stickers
- Inspection records
- Tire condition
- Brake pedal wear
- Seat wear
- Steering wheel wear
- Carpet and floor mat wear
A mileage rollback is not always obvious. Be cautious if the report shows mileage moving backward, staying unchanged for a long period, or jumping in a strange way.
Also trust your observations. A car with very low mileage should not usually have excessive seat wear, worn pedals, loose controls, or a heavily worn steering wheel.
Step 8: Inspect the Tires and Wheels
Tires can reveal alignment problems, suspension issues, poor maintenance, or hidden accident damage.
Check for:
- Uneven tread wear
- Different tire brands or sizes
- Cracks or dry rot
- Sidewall bubbles
- Bent wheels
- Missing lug nuts
- Vibration during test drive
- Tire date codes
Uneven tire wear may suggest alignment problems, worn suspension parts, frame issues, or neglected maintenance. Replacing tires can also be expensive, so factor the condition into your offer.
Step 9: Check Under the Hood
You do not need to be a mechanic to spot obvious engine bay red flags. Open the hood and look carefully.
Check for:
- Oil leaks
- Coolant leaks
- Cracked hoses
- Corroded battery terminals
- Burnt smells
- Low fluid levels
- Milky oil under the cap
- Damaged wiring
- Aftermarket wiring repairs
- Missing covers or fasteners
- Signs of overheating
Start the engine cold if possible. Listen for knocking, ticking, rough idle, squealing belts, or unusual vibration. A warm engine may hide hard-start issues, smoke, or cold-start noises.
Step 10: Inspect the Fluids
Fluids can tell you a lot about maintenance and potential repair costs.
Check:
- Engine oil
- Coolant
- Brake fluid
- Transmission fluid, if accessible
- Power steering fluid, if applicable
- Windshield washer fluid
Be cautious if fluids are extremely low, dirty, burnt-smelling, contaminated, or milky. Milky oil can suggest coolant contamination. Burnt transmission fluid can point to transmission wear. Low brake fluid may suggest worn brakes or leaks.
Step 11: Check the Interior and Electronics
Interior wear should match the mileage and age of the vehicle. Electronics should work consistently.
Test:
- Windows
- Door locks
- Mirrors
- Seats
- Seat heaters or ventilated seats
- Air conditioning
- Heater
- Infotainment screen
- Backup camera
- Parking sensors
- Bluetooth
- USB ports
- Dashboard lights
- Wipers
- Sunroof
- Interior lights
Watch for warning lights that stay on after startup. Also be cautious if warning lights never turn on during startup, because that could indicate tampering.
Step 12: Check Recall Status
A VIN check may point you toward recall information, but recall status should be verified close to the purchase date. Some recalls are safety-related and may affect airbags, brakes, steering, fuel systems, seat belts, or electrical systems.
Before buying, run a VIN recall check and confirm whether any open safety recall applies to the vehicle. If there is an open recall, ask whether the repair has been completed or whether a dealer can perform the repair for free.
An open recall does not always mean you should reject the car. However, it should affect your timing, questions, and negotiation.
Step 13: Test Drive the Car Carefully
A test drive should include more than a quick trip around the block. Drive the car long enough to check how it behaves in normal conditions.
During the test drive, check:
- Cold start behavior
- Idle smoothness
- Acceleration
- Transmission shifts
- Braking feel
- Steering response
- Suspension noise
- Road vibration
- Alignment pull
- Air conditioning performance
- Dashboard warning lights
- Unusual smells
- Engine temperature
Try to drive at neighborhood speeds and highway speeds if safe and allowed. Listen for clunks, grinding, humming, rattles, or hesitation.
If the seller refuses a reasonable test drive, treat that as a warning sign.
Step 14: Compare the Asking Price With the Vehicle’s History
The asking price should reflect the car’s condition and history. A vehicle with a clean title, consistent mileage, good maintenance records, and no serious accident history may justify a stronger price.
However, the price should be lower if the car has:
- Title brands
- Accident or damage history
- Open recalls
- Inconsistent mileage
- Poor maintenance records
- Worn tires or brakes
- Mechanical issues
- Flood or corrosion clues
- Prior fleet or rental use
Use a car value by VIN check to compare the asking price with the vehicle’s history and condition. If the seller’s price ignores obvious risk factors, use the report and inspection findings to negotiate or walk away.
Step 15: Get a Pre-Purchase Inspection
If the vehicle passes your initial review and you are seriously considering it, get a pre-purchase inspection from a trusted mechanic.
A mechanic can inspect areas most buyers cannot properly evaluate, including:
- Frame and structural components
- Suspension
- Brakes
- Engine condition
- Transmission condition
- Leaks
- Computer codes
- Exhaust system
- Undercarriage
- Previous repair quality
- Safety-related concerns
A pre-purchase inspection may cost money upfront, but it can save you from expensive repairs and buyer’s remorse.
Used Car Inspection Checklist After a VIN Check
| Inspection Area | What to Check | Warning Signs |
|---|---|---|
| VIN and documents | VIN on vehicle, title, registration, listing, and report | VIN mismatch, altered labels, missing title |
| Vehicle identity | Year, make, model, trim, engine, transmission | Specs do not match seller’s listing |
| Title records | Brands, liens, seller name, odometer disclosure | Salvage, flood, junk, lien, altered title |
| Exterior | Paint, panels, lights, glass, body gaps | Mismatched paint, poor repairs, rust |
| Flood clues | Carpet, trunk, seat bolts, wiring, smell | Musty odor, corrosion, damp carpet, silt |
| Mileage | Odometer, report records, service history, wear | Mileage rollback, unusual wear, inconsistent records |
| Tires and wheels | Tread, tire age, wear pattern, wheel damage | Uneven wear, bubbles, bent wheels |
| Engine bay | Leaks, hoses, battery, noises, smells | Oil leaks, coolant leaks, burnt smell, rough idle |
| Interior | Seats, electronics, dashboard, HVAC | Warning lights, dead electronics, excessive wear |
| Test drive | Braking, steering, acceleration, shifting, vibration | Pulling, clunking, slipping, overheating |
| Price | Asking price vs. history and condition | Price too high for risk level |
| Inspection | Mechanic review before purchase | Seller refuses inspection |
Red Flags That Should Make You Walk Away
Some problems are serious enough to pause or end the deal.
Be very cautious if:
- The VIN does not match across the car and documents
- The seller cannot provide a clear title
- The title is altered or not in the seller’s name
- The report shows theft history with no clear explanation
- The vehicle has flood signs but no disclosure
- The seller refuses inspection or test drive
- The odometer reading does not match records
- The car has major warning lights during startup or driving
- The price seems too low for the vehicle’s claimed condition
- The seller pressures you to pay quickly
A good deal should still make sense after verification. If the seller becomes evasive when you ask reasonable questions, it may be safer to move on.
What to Bring When Inspecting a Used Car
Bring a few simple items to make the inspection easier:
- VIN report or screenshots
- Flashlight
- Tire tread gauge, if available
- Paper towel or rag
- Phone camera
- OBD-II scanner, if you know how to use one
- Notepad or checklist
- Driver’s license and insurance card for test drive, if needed
- Trusted friend or mechanic, if possible
Do not rush. Take photos, compare details, and review your notes before making an offer.
Bottom Line: Let the VIN Check Guide the Inspection
A VIN check gives you the story on paper. The inspection tells you whether the car in front of you matches that story.
Before buying, confirm the VIN, review the title, inspect the body, check for flood and accident clues, compare mileage, test the electronics, verify recalls, evaluate the price, and get a mechanic’s opinion when needed. This process can help you avoid hidden damage, title problems, odometer fraud, unsafe vehicles, and overpriced deals.
The best used car buyers do not rely on one signal. They combine vehicle history, documents, inspection, test drive results, and common sense before handing over money.
FAQs
Is a VIN check enough before buying a used car?
No. A VIN check is a strong first step, but it should not replace a physical inspection, test drive, title review, recall check, and mechanic inspection. A report shows available records, while an inspection shows current condition.
What should I inspect first after running a VIN check?
Start by confirming that the VIN on the vehicle matches the VIN on the title, registration, listing, and report. A mismatch can indicate a paperwork issue, VIN cloning, title fraud, or theft risk.
Can a car have a clean VIN report but still have problems?
Yes. Some accidents, repairs, maintenance issues, flood exposure, or mechanical problems may not appear in every report. Always inspect the vehicle and consider a pre-purchase inspection.
Should I buy a used car with an accident history?
It depends on the severity of the accident, repair quality, price, and inspection results. Minor cosmetic damage may be acceptable, but structural damage, airbag deployment, poor repairs, or unclear documentation should be treated carefully.
What if the seller refuses a mechanic inspection?
A refusal is a major warning sign. A serious seller should allow a reasonable pre-purchase inspection, especially if you are ready to pay for it. If the seller refuses, consider walking away.
How do I know if the asking price is fair after a VIN check?
Compare the price with the car’s title history, accident records, mileage, maintenance, recall status, condition, and local market. A vehicle with risk factors should usually be priced lower than a similar clean-history vehicle.
Author
Julian Cross
Julian Cross is an automotive data writer who specializes in salvage title issues, odometer fraud, theft checks, accident records, and recall screening. His content helps used-car shoppers spot high-risk vehicles before purchase by turning raw vehicle data into practical insights. He focuses on the warning signs that matter most when evaluating private-party and dealership listings.